Contents
Introduction
In recent years, the landscape of lighting technology has undergone a remarkable transformation, spurred by continuous advancements. One of the most significant shifts has been the widespread adoption of energy-efficient LED lights, supplanting traditional fluorescent lighting systems in both residential and commercial settings. This transition isn’t merely a trend but a conscious choice driven by the compelling array of advantages that LED technology brings to the table.
LED lights, short for Light Emitting Diodes, have emerged as the preferred choice for illuminating spaces due to their remarkable efficiency and superior performance. Unlike their fluorescent counterparts, LED lights consume significantly less energy, making them an environmentally conscious option while also translating into substantial cost savings on electricity bills. Moreover, the lifespan of LED lights far surpasses that of fluorescent bulbs, offering prolonged durability and reduced maintenance requirements. This longevity aspect not only minimizes the hassle of frequent replacements but also contributes to sustainability efforts by reducing electronic waste.
Gather Necessary Tools and Materials
Before you begin the replacement process, it is important to gather all the tools and materials you will need. This includes:
New LED light fixture
Screwdriver
Wire cutters/strippers
Voltage tester
Wire nuts
Electrical tape
Ladder (if needed)
Turn Off Power
When undertaking any task involving electrical fixtures, prioritizing safety is absolutely essential. Electricity poses inherent risks, and proper precautions must be taken to mitigate them effectively. Thus, before embarking on the process of replacing an old fluorescent light fixture with a new LED fixture, it’s imperative to adhere to strict safety protocols.
Begin by taking preemptive measures to ensure that the electrical system is deactivated. This involves switching off the power supply to the existing fluorescent light fixture at the circuit breaker. By cutting off the electrical flow at its source, you significantly reduce the risk of electric shock or other potential hazards during the replacement process.
However, simply switching off the circuit breaker isn’t always sufficient. It’s essential to verify that no electricity is still flowing to the fixture. This additional step is crucial for safeguarding against any residual electrical charge that may remain in the wiring. To do so, employ a voltage tester, a specialized tool designed to detect the presence of electrical current. With the power ostensibly turned off, use the voltage tester to double-check that there are no active electrical connections or live wires within the vicinity of the fixture.
Remove the Old Fixture
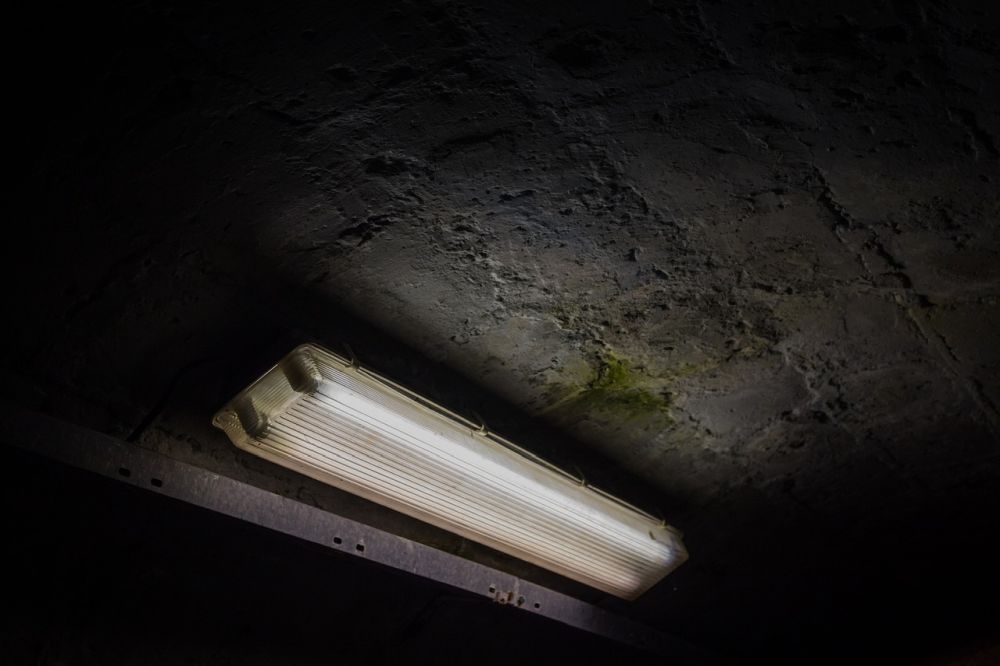
Using a screwdriver, carefully remove the cover of the old fluorescent light fixture and set it aside. Next, disconnect the wires connecting the fixture to the electrical system. There may be a wiring harness or wire nuts holding the wires together, so use wire cutters/strippers to disconnect them.
After disconnecting the wires, remove the screws or bolts securing the fixture to the ceiling or wall. Gently lower the fixture down and set it aside.
Prepare the New LED Fixture
Before embarking on the installation of your new LED fixture, it is essential to begin with a thorough understanding of its specifications and requirements. This starts with a careful examination of the manufacturer’s instructions accompanying the fixture. These instructions serve as your roadmap, providing critical information on how to correctly install the fixture and ensure its compatibility with your existing electrical system.
Take the time to scrutinize the manufacturer’s instructions, paying close attention to any specifications or guidelines regarding electrical compatibility. It’s crucial to ensure that the voltage requirements, wiring configurations, and mounting instructions align seamlessly with your current setup. This preliminary step helps to avoid potential complications or hazards that may arise from incompatible fixtures being installed.
Connect the New Fixture
With the old fixture removed, it’s time to install the new LED fixture. Begin by connecting the wires from the fixture to the corresponding wires in the electrical system. Use wire nuts to secure the connections and wrap them with electrical tape for added safety.
Once the wires are securely connected, carefully lift the new LED fixture into place and align it with the mounting holes on the ceiling or wall. Use screws or bolts to secure the fixture in place.
Test the Fixture
After the new LED fixture is securely installed, turn the power back on at the circuit breaker. Test the fixture to ensure that it is functioning properly. If everything is working as expected, replace the cover on the fixture.
Dispose of the Old Fixture
Properly dispose of the old fluorescent light fixture according to local regulations. Many municipalities have specific guidelines for disposing of electronic waste, so be sure to follow them to ensure environmentally responsible disposal.
Conclusion
The process of replacing an outdated fluorescent light fixture with a modern LED alternative is a task that, despite its importance, is surprisingly simple and manageable. Yet, the rewards it promises in terms of energy efficiency and lighting quality are anything but trivial. Through the seamless integration of LED technology into your lighting system, you stand to reap a host of significant benefits that extend far beyond mere illumination.
By adhering to the step-by-step guide provided above and exercising due diligence in implementing appropriate safety measures, you can effortlessly navigate through the replacement process. With clear instructions and a methodical approach, the transition from fluorescent to LED lighting becomes a straightforward endeavor accessible to homeowners and professionals alike. This accessibility underscores the accessibility of LED technology and its suitability for a wide range of applications, from residential spaces to commercial environments.

